As a kid, I had color pencils and acrylic paints that end up in the trash without being touched. At the time, I didn’t know what to do with them, and my extremely academic family was as clueless as me. The thing is, even as a child, the white page was too threatening. In June 2019, as a consequence of a series of very fortunate incidents, I decided to give myself the opportunity to explore this foreign topic. I’ve decided to be artistically creative.
Now, even wanting to be creative is no enough, and without any experience, I decided that my best shot was coming back to school and enroll in a Studio Art program. The positive side of taking structured classes is that they are, well… structured (A huge advantage to my scientific mind. It’s a familiar and safe environment).
Overcoming the white-paper fear
In this post, I will walk with you through the process of creating something “out of nothing” by understanding a simple trick: It is not made out of nothing. References, research, and inspiration are not important, are vital.
Maybe some of you already know this trick, but six months ago, I didn’t, and I’m guessing plenty of people out there neither. On the other hand, you can read the theory as much as you want, but it will be almost impossible to grasp it without experimenting with it. This post will show you my process for a very particular process but maybe it will inspire you for yours.
The project
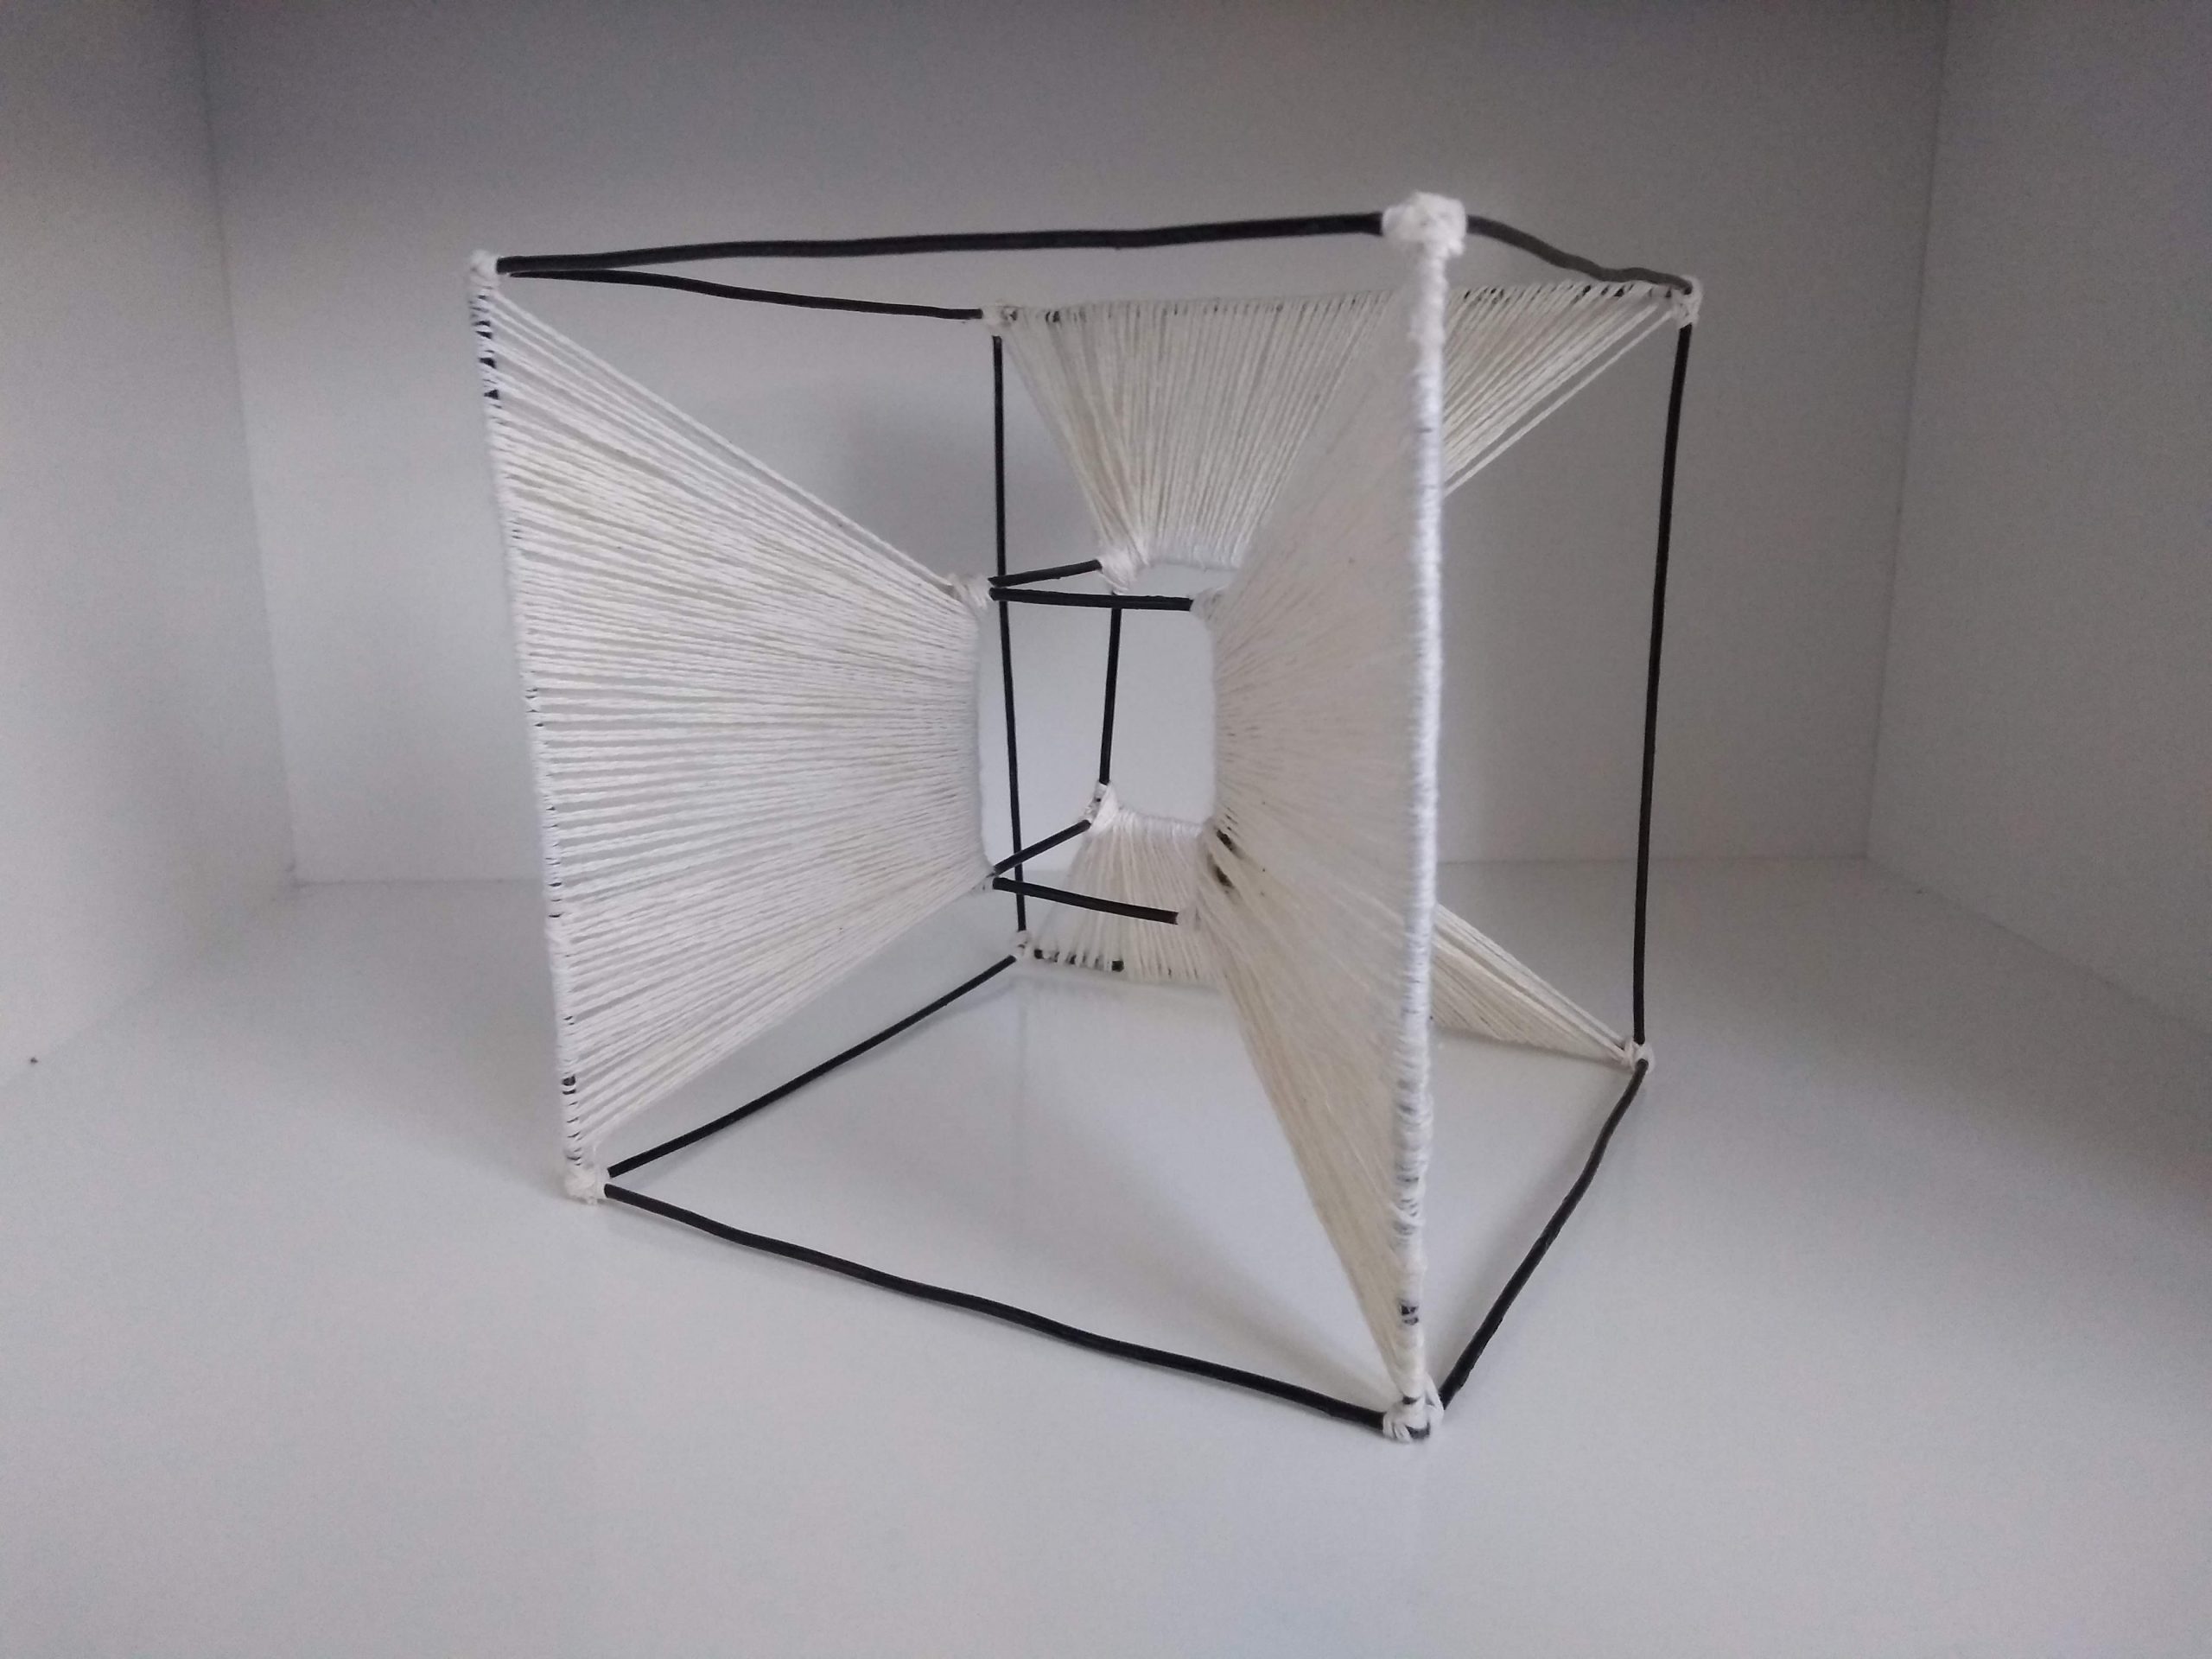
Right now, I’m enrolled in a 3D design class, and our first project is to build a paper flat-pack, i.e., a 3D structure made from flat paper (it can be other materials, but our project has this restriction). Think of it as those cubes made by folding a pre-cut paper.
In an Art class usually, we have some guidelines to frame each studio project. Do not think about them as restrictions, but as a framework that gives you some needed limits.
The prompt: Design and construct a non-representational form 2 sheets of watercolor paper that demonstrate an understanding of the elements of 3D design.
Defining the problem
In this particular case, the problem is defined within the prompt. I must construct a flat-pack taking into account the following limitations:
- 2 sheets of watercolor paper
- It must be non-representational
- it must show the elements of 3D-design
Even with the above restriction I still have plenty of room for my own choices.
- I can choose my own subject; it only needs to be non-representational.
- I can choose which elements of 3D design I want to highlight (more on that below).
Research
Next step, I need references. We all need references. Even if you have an idea before doing any research I bet you it comes from something or someone you know and like.
Elements of 3D design
Since it is mandatory to include some of them, I read in our textbook about the elements of 3D design, which I am listing below:
- Form
- Organic/Geometric/Mechanical
- Actual/Implied
- Static/Dynamic
- Three dimensions: X, Y, and Z
- Dimensionality: Relief/three-quarter work/free-standing
- Environmental: installation/earthwork/ Site-specific
- Line
- Adjacent points
- Connexion between points
- Point in motion
- Qualities:
- Orientation (vertical, horizontal, diagonal)
- Direction
- Continuity
- Actual/Implied
- Linear Networks
- Volume: Empty 3D space. It requires defining the volume maintaining the structure.
- Space
- Positive/Negative
- Dialogue between the form and the surroundings
- Light
- Volume/Value
- striking a surface
- Ambiente/Direct
- As a sculpture
- Point: Single/array
- Plane: Width and longitude without thickness.
- Mass: Solid 3D form
- Texture: Subtle/Strong
- Time: Actual/Implied
- Color: Harmony/Symbolic/Contrast/Emotion
It would be too complicated to tackle all of them at the same time, therefore:
- I will use organic forms in a free-standing sculpture.
- I will include actual and implied lines/volumes.
- I will pay attention to the use of positive/negative space
- I will include some kind of texture
Looking for references and inspiration
In this stage, I am looking for sources of inspiration related to organic forms and free-standing sculpture artists that have non-representational works. It is a good idea to collect all the images in the same place, so I created a Pinterest board.
I am (kind of) old. I grew up before google when connecting to the internet was for the rich and the geeks. So I know how to properly use a Library, and I love it. Yes, the internet has its advantages (is on our phone), but books are curated compilations made for experts. So my next stop is the local library, where I found this:
Visual Research
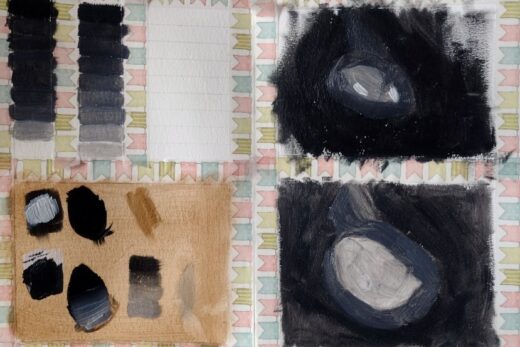
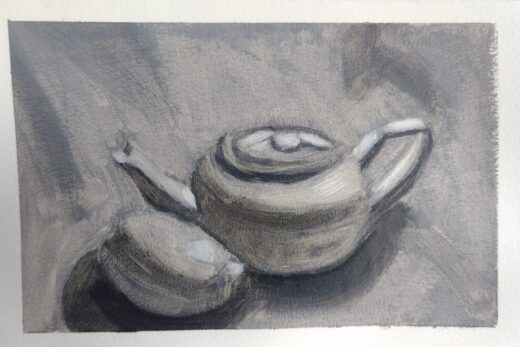
Now, I’ve gathered enough information and inspiration to make something myself. However, before jumping for the scissors is better to have a clear idea of what I want to do, and the best visualization tool in history is called thumbnails. In fact, is a requirement to make some thumbnails for this project (wise teacher).
This a video in my Instagram account of me doing some thumbnails for this project, leaving the creative juice flow (I used Lapse It app)
Open Mind
From my thumbnails, it is clear I wanted to achieve a curvy shape, probably around an axis. However, once I got my hand on watercolor paper I learned (the hard way) that it does not like to, well…, curve.
So, I played with the paper until I got a feeling of what I can and can’t do with the material. Turns out, it’s hard to fold it if I do it against the grain. Also, I need it to go slow: first, mark with pencil the place where the fold should be: second, use a popsicle (there are more fancy tools, but I work with what I have) to mark a line as deep as possible in the paper: third, use a metallic ruler as a guide to fold.
After a couple of hours, my “play” shapes where consistent, so I arranged them forming an interesting shape.
The moral
Go with the flow!!!